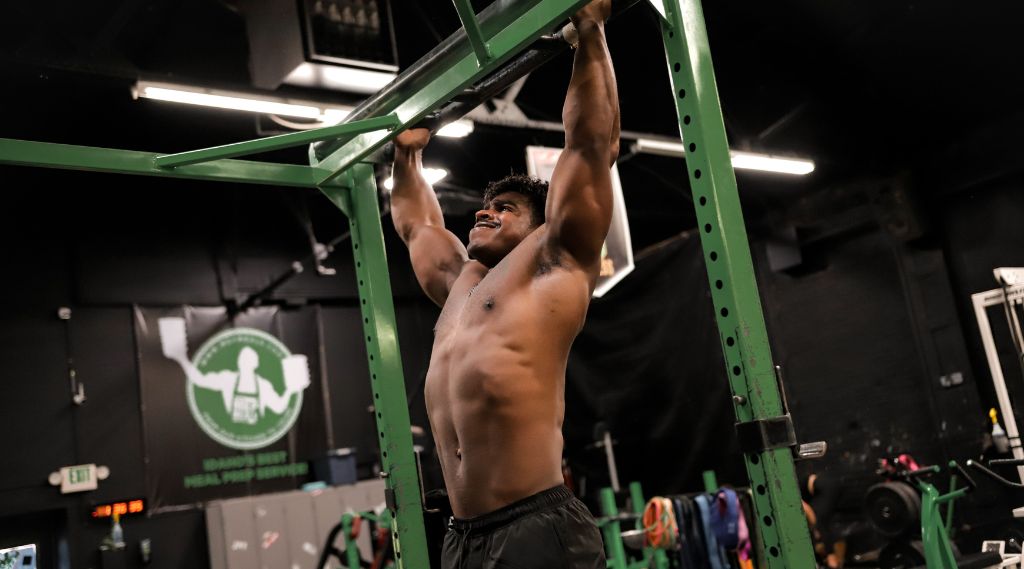
If you want to start doing pull-ups but you’re not quite strong enough to do them without assistance then the banded pull-up is a great exercise to start incorporating.
Banded pull-ups involve performing a traditional pull-up with the assistance of a resistance band. The band helps offset some of your body weight, making the movement easier.
This is a great pull-up alternative for those who aren’t strong enough to do a pull up on their own.
I’ll walk you through exactly how to set up and perform banded pull-ups, what type of bands to use, and how to incorporate this movement into your workout plan.
Muscles Worked With Pull-Ups

Pull-ups are one of the most effective upper body exercises you can do, and using a resistance band for assistance can be a game changer, especially for beginners. Banded pull-ups work the exact same muscles as bodyweight pull-ups, those muscles include:
Latissimus Dorsi (Lats)
This large, wing-shaped muscle lays across your back and is responsible for that coveted V-shaped physique.
When you perform a pull-up, your lats will be the main muscle that you’re targeting because they are responsible for extending your arm behind your body (extension) and bringing your arms closer to your body (adduction) which occur while doing pull-ups.
Biceps Brachii
The second major contributor is the biceps brachii, the muscles that probably pop into your mind whenever someone says "flex."
Located in the upper arm, your biceps assist in the pulling motion of the pull-up by bending your arms at the elbow (elbow flexion) to bring you closer to the bar.
Brachialis and Brachioradialis
Slightly less known but equally important are the brachialis and brachioradialis. These are located on the side of your upper arm and in your forearm respectively. Their job is to provide additional pulling power and grip strength during your pull-ups.
Rhomboids, Trapezius, and Other Back Muscles
Your rhomboids, trapezius, and other various back muscles are muscles that work “behind the scenes”. They ensure your back remains stable and your body aligned as you perform the exercise.
Abdominal Muscles
You may not realize it at first, but a good pull-up requires a stable core, which is where your abdominals come in. They act as stabilizers during the movement, keeping your body from swinging and adding that extra pinch of spice to the exercise.
If any of these muscles aren’t quite strong enough to perform their role, then it may feel impossible to perform a bodyweight pull-up. Fortunately, band pull-ups exist and you can incorporate them to help work up to a bodyweight pull-up.
Related Articles:
- Resistance Band Back Exercises
- Banded Deadlifts: Benefits, How-to, Common Mistakes
- Upright Row with Bands: How to Do It
- How to Do Face Pulls With Bands (The Proper Way)
How To Do Pull-Ups With Bands: Step-By-Step Guide
Now that you know which muscles are working, let's focus on how to do pull-ups using bands for assistance, without becoming too reliant on the band itself.
Step 1: Select the Right Band
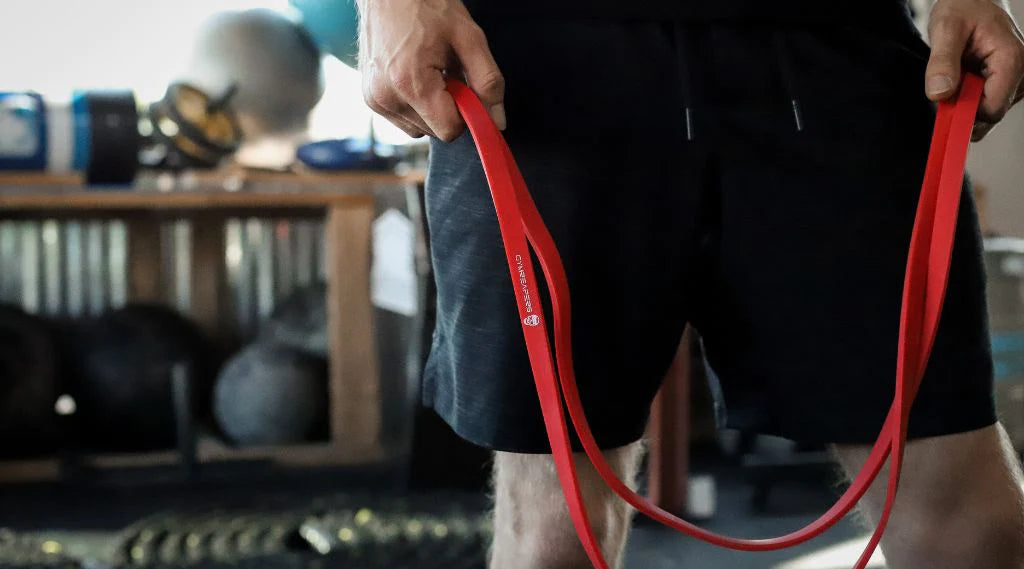
Choosing the right band is key to getting the most out of your banded pull-ups. Bands come in a variety of strengths, with a thicker band offering more assistance (making the pull-up easier), and a thinner band providing less assistance.
If you're new to pull-ups or they’re especially challenging for you, then start with a thicker band and gradually work your way to a lighter one as you get stronger.
Step 2: Attach the Band to the Pull-Up Bar
Next, loop your resistance band around the pull-up bar. To do this, reach up and hook one end of the band over the bar, then pull it down and thread it through the other end of the band, creating a secure loop around the bar. Once it's attached, pull it tight so that it doesn’t shift when you step into it.
Step 3: Position Your Feet or Knees in the Band
Step on a stool or bench (if necessary) and place one foot or knee (depending on your comfort and strength level) into the band. The band should be taut, providing a nice bit of resistance. If you're using your foot, the band should be sitting under your feet. If you're using your knee, it should sit just below the knee joint.
Looping the band below your feet and staying in a standing position will stretch the band further for more assistance, whereas looping it under your knees will remove stretch and offer less assistance.
Step 4: Grip the Bar
Reach up and grab the bar with an overhand grip (palms facing away from you). Your hands should be slightly wider than shoulder-width apart.
Step 5: Perform the Pull-Up
With the band looped under your feet or knees, pull your body up towards the bar. Your aim should be to bring your chin above the bar while keeping your shoulders pulled back behind you, keeping your shoulder from rounding forward at the top of the movement.
Lower yourself down slowly, maintaining control throughout the entire movement.
Step 6: Repeat!
Repeat for as many reps as you can manage without compromising your form. Remember, quality over quantity.
Wondering how many sets you should be doing and how often? I’ll talk about that shortly!
Common Banded Pull-Up Mistakes

As a strength coach, I’ve seen my fair share of banded pull-up mistakes and I want to make sure you aren’t making them, so let me walk you through some common mistakes and how to fix them.
Mistake #1: Using a Band That's Too Strong or Too Weak
The Goldilocks rule applies here: not too strong, not too weak, just right. Using a band that's too strong will do most of the work for you, robbing your muscles of the chance to do the work and get stronger.
On the other hand, a band that's too weak might not give you the support you need, leading to frustration, possible injury, or simply a lack of quality work.
Fix: Choosing the Right Band
As a rule of thumb, if you can't do at least five banded pull-ups with good technique, then the band is too weak. If you can easily do more than 15 banded pull-ups, then the band might be too strong.
We aren’t letting the band give us a free ride, we are working our muscles, so use just enough assistance from the band to help you complete the reps, while still challenging your muscles to do 95% of the work.
Mistake #2: Letting the Band Control You
If you're wildly swinging or bouncing at the bottom of the pull-up, the band might be controlling you more than you're controlling it. This can lead to injury, cause the band to break, and limit the amount of work your muscles need to do; all of which negatively impact your results.
Fix: Maintain Control and Stability
Focus on keeping your movements controlled by engaging your core and using your muscles (rather than momentum) to pull yourself up and lower yourself down. Remember, slow and steady often wins the race, even in weightlifting.
Mistake #3: Not Using the Full Range of Motion
Some people have a tendency to only lower themselves halfway or not pull themselves up fully. This prevents you from building strength in each portion of the lift and limits your potential for muscle growth.
If you’re not training full ranges of motion when doing banded pull-ups, then you may never progress to bodyweight pull-ups.
Fix: Use the Full Range of Motion
Ensure you're pulling yourself up until your chin is over the bar, and lower yourself until your arms are fully extended. This full range of motion ensures all the muscles involved are being worked to their fullest potential.
Mistake #4: Neglecting Form
Form, form, form. It's incredibly important to keep the correct form during your pull-ups to prevent injury and ensure that you’re in a position where the working muscles can do their job effectively.
For example, many people tend to let their shoulders round forward (protract) when they pull themselves up which prevents them from using their lats effectively because the lats work best when the shoulders are pulled back in the opposite action (retraction).
Fix: Mind Your Form
Keep your shoulders back, and your core engaged, and remember to breathe. If you're unsure about your form, don't hesitate to ask a trainer at your gym or consult a video tutorial online.
It's better to do fewer pull-ups with proper form than many pull-ups with bad form.
Implementing Banded Pull-Ups Into Your Training Routine

So you’ve got the hang of it, but you’re probably wondering how often you should do them, how many reps, and how long you should stick with it.
Here’s how to incorporate banded pull-ups into your programming:
Sets and Reps
A great starting point is 3 sets of 5 to 10 reps. You want to reach a point of muscle fatigue by the end of each set, but not to the point where your form suffers. As you build strength, you can gradually increase your reps and sets.
I recommend 3-5 sets max, and 10 reps max. If you can do more than this then use a lighter band to make it more challenging.
For example, if you’re starting out with 3 sets of 5 reps with a thick band then try to progress to 3 sets of 10 reps with the thick band before adding an extra set or changing bands.
Load
The load in this case is controlled by the band that you choose. Start with a stronger band and gradually move to lighter ones as you gain strength. The aim is to reach a point where you can perform pull-ups without the assistance of a band at all, so really push yourself to move from the heavy bands to lighter bands as you get stronger.
Frequency
Like any muscle group, your back and pull-up muscles are best trained twice a week for 6-8 total sets (assuming you take those sets to near failure each time).
Depending on how often you train your upper body and/or back, you can add these to your upper body and back days to hit them twice a week along with the other work you have in your program.
Exercise Order
Pull-ups are a demanding compound exercise that engages multiple muscle groups, so if it’s your primary focus, then it’s best to do them early in your workout when you're fresh and have the most energy.
You can start your upper-body workouts with pull-ups to get them done when your strength levels are at their highest.
Alternatively, I’ve used pull-ups with an assistance band as a great burnout exercise at the end of a workout. With my muscles already fatigued from deadlifts or other back work, the assistance band variation of pull-ups allows me to get more volume in without sacrificing form due to fatigue.
Best Bands For Pull-Ups
Now that we've got the technique down and we understand how to incorporate banded pull-ups into our workout routine, the only thing left to do is get the right equipment! For high-quality resistance bands that won't let you down, I recommend Gymreapers.

The Gymreapers Resistance Bands come in a variety of strengths, from light to heavy, so you can start with a thicker band and gradually work your way down as you get stronger.
These bands are durable, high-quality, and built to last. They're made from natural latex, providing a smooth and consistent stretch that doesn't sacrifice strength.
The bands are color-coded based on their resistance level, so you can easily grab the one you need for your workout.
Remember, using the right equipment is crucial to achieving your fitness goals safely and effectively. So choose wisely, train hard, and never stop striving to become the best version of yourself!


Leave a comment
All comments are moderated before being published.
This site is protected by hCaptcha and the hCaptcha Privacy Policy and Terms of Service apply.